Approve Timesheets
Overview
You can approve your timesheets in GigBridge once a week for all of your active placements. Each week the system generates a timesheet for each active placement. You can confirm which days were worked while also allocating which cost codes their work should be attributed to.
Learn more about creating placements here.
How to Approve timesheets
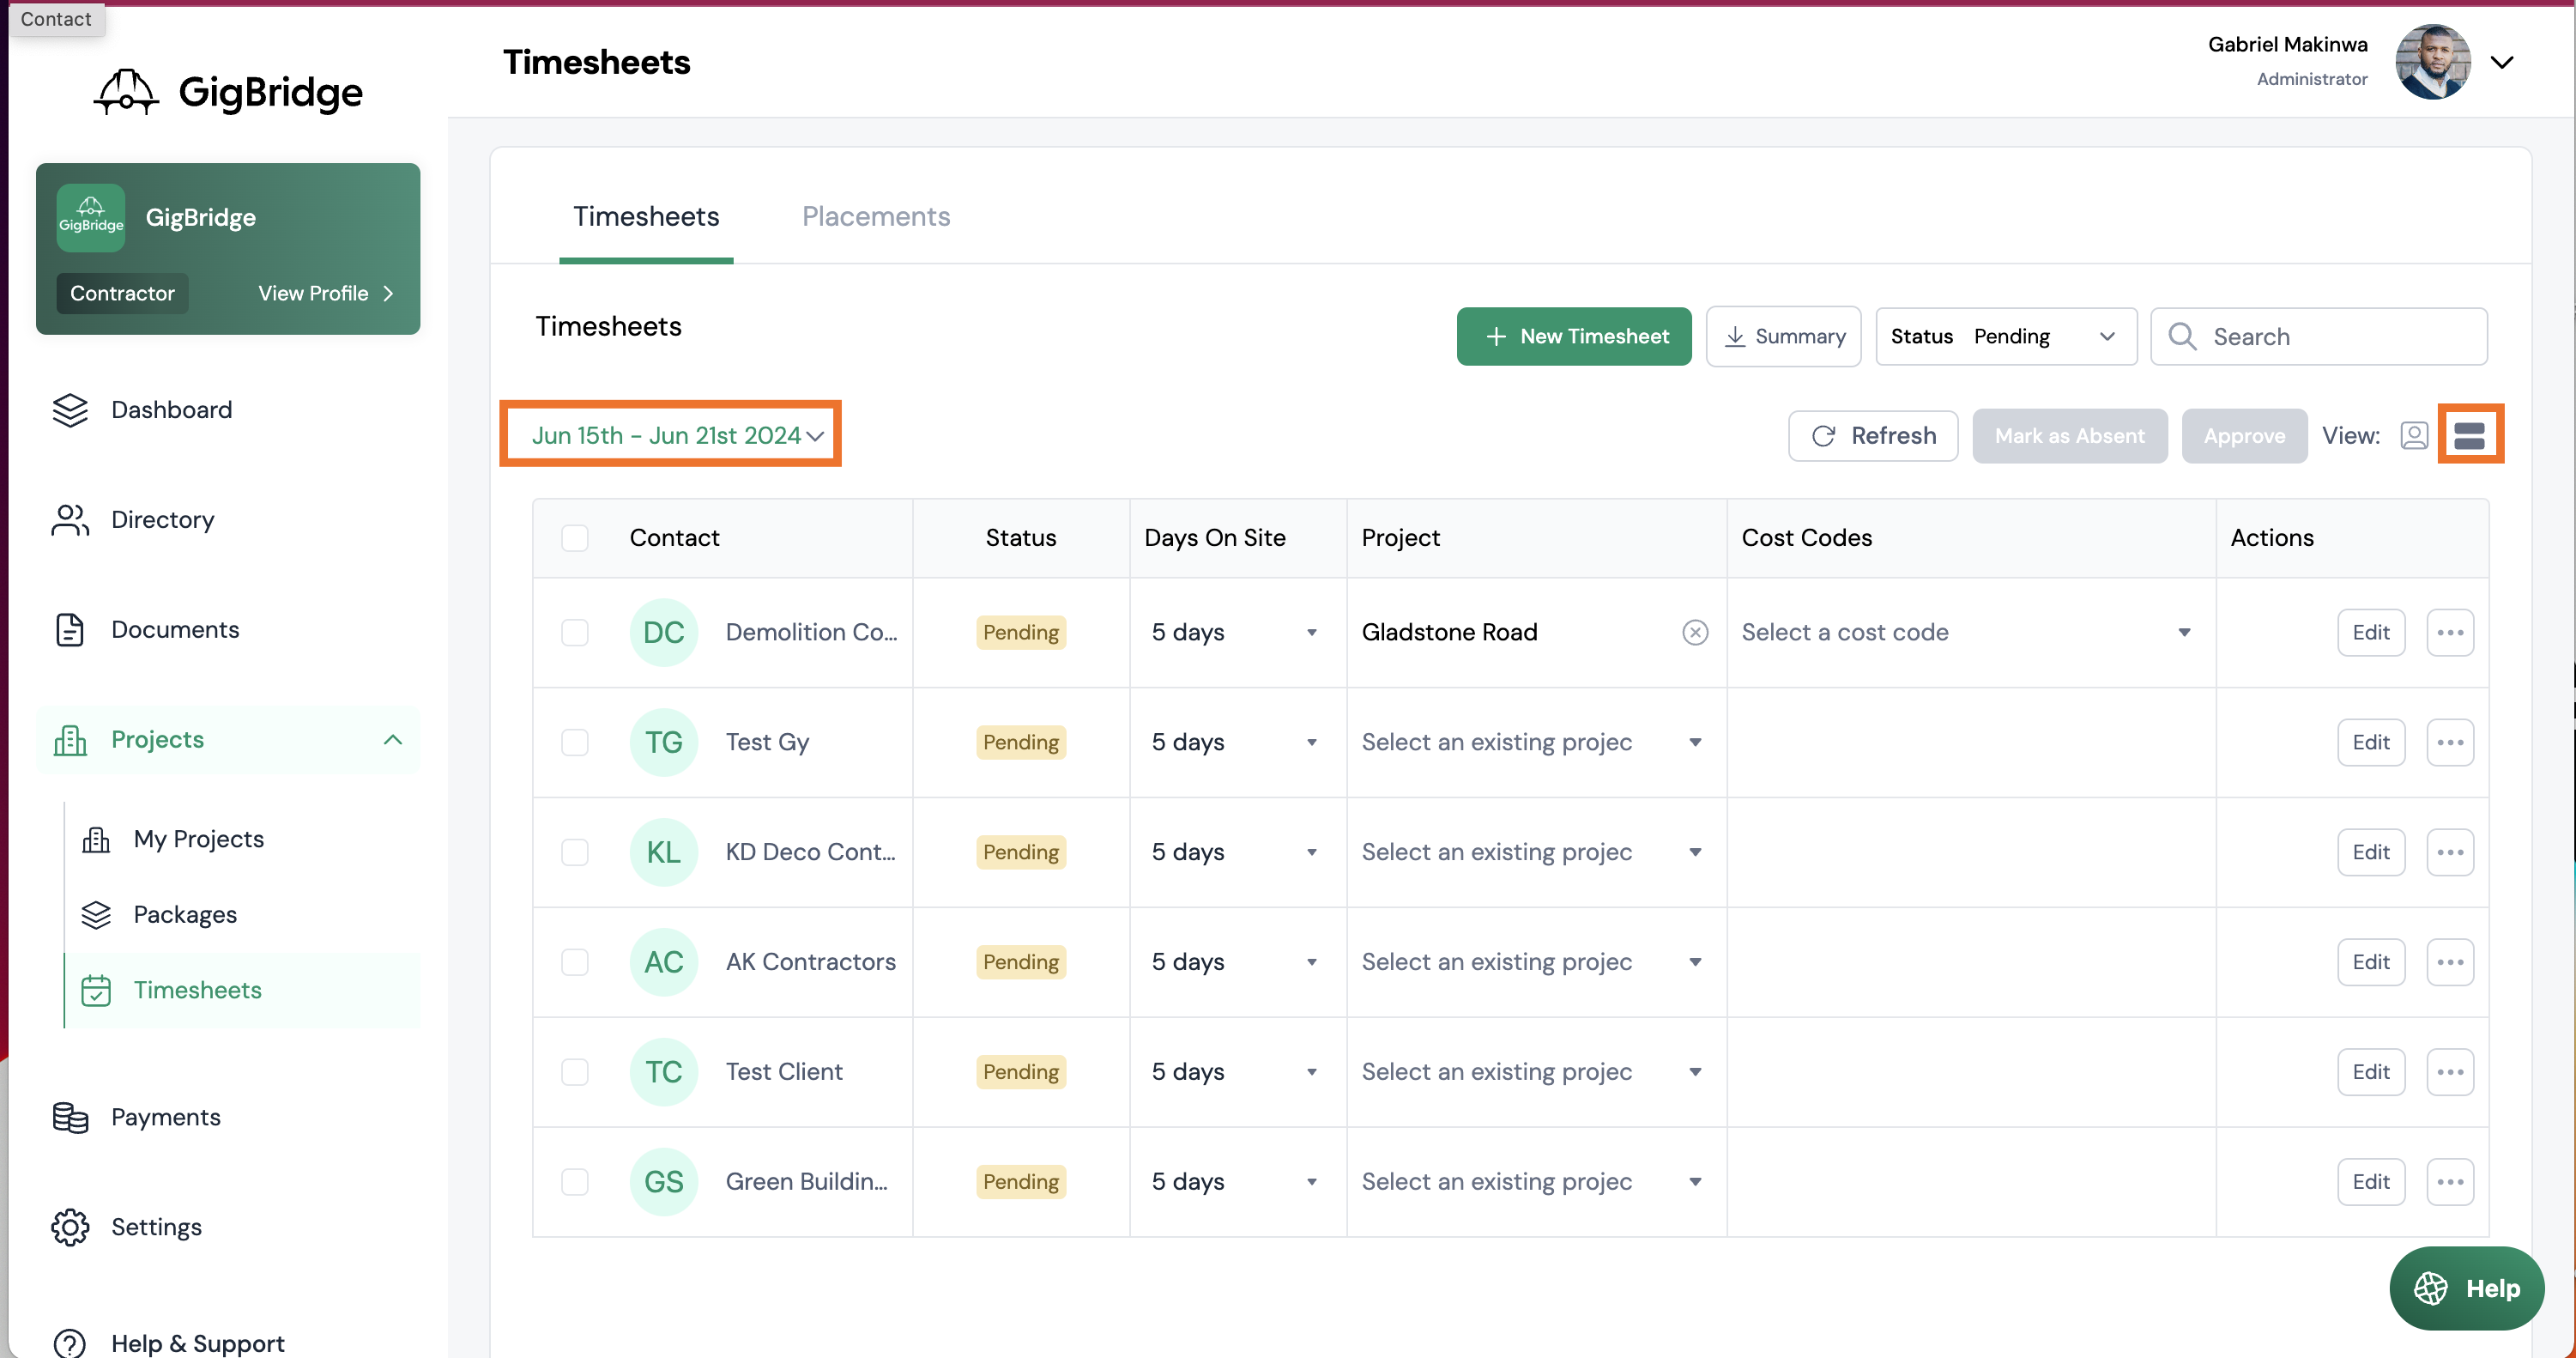
- Click on timesheets in the menu on the left hand side.
Approve several timesheets at once
- Select the week you want to approve timesheets for and then select group view.
Note; when you use the group editor for timesheets you'll only be able to select one project and cost code per person. if you'd like to allocate their work to more than one cost code then please select the single view. You can read more about approving timesheets in the single view below.
- Select the project and cost code for the timesheets you'd like to approve.
- Once you've filled them in; use the check box on the left hand side of the table to select the timesheets you'd like to approve
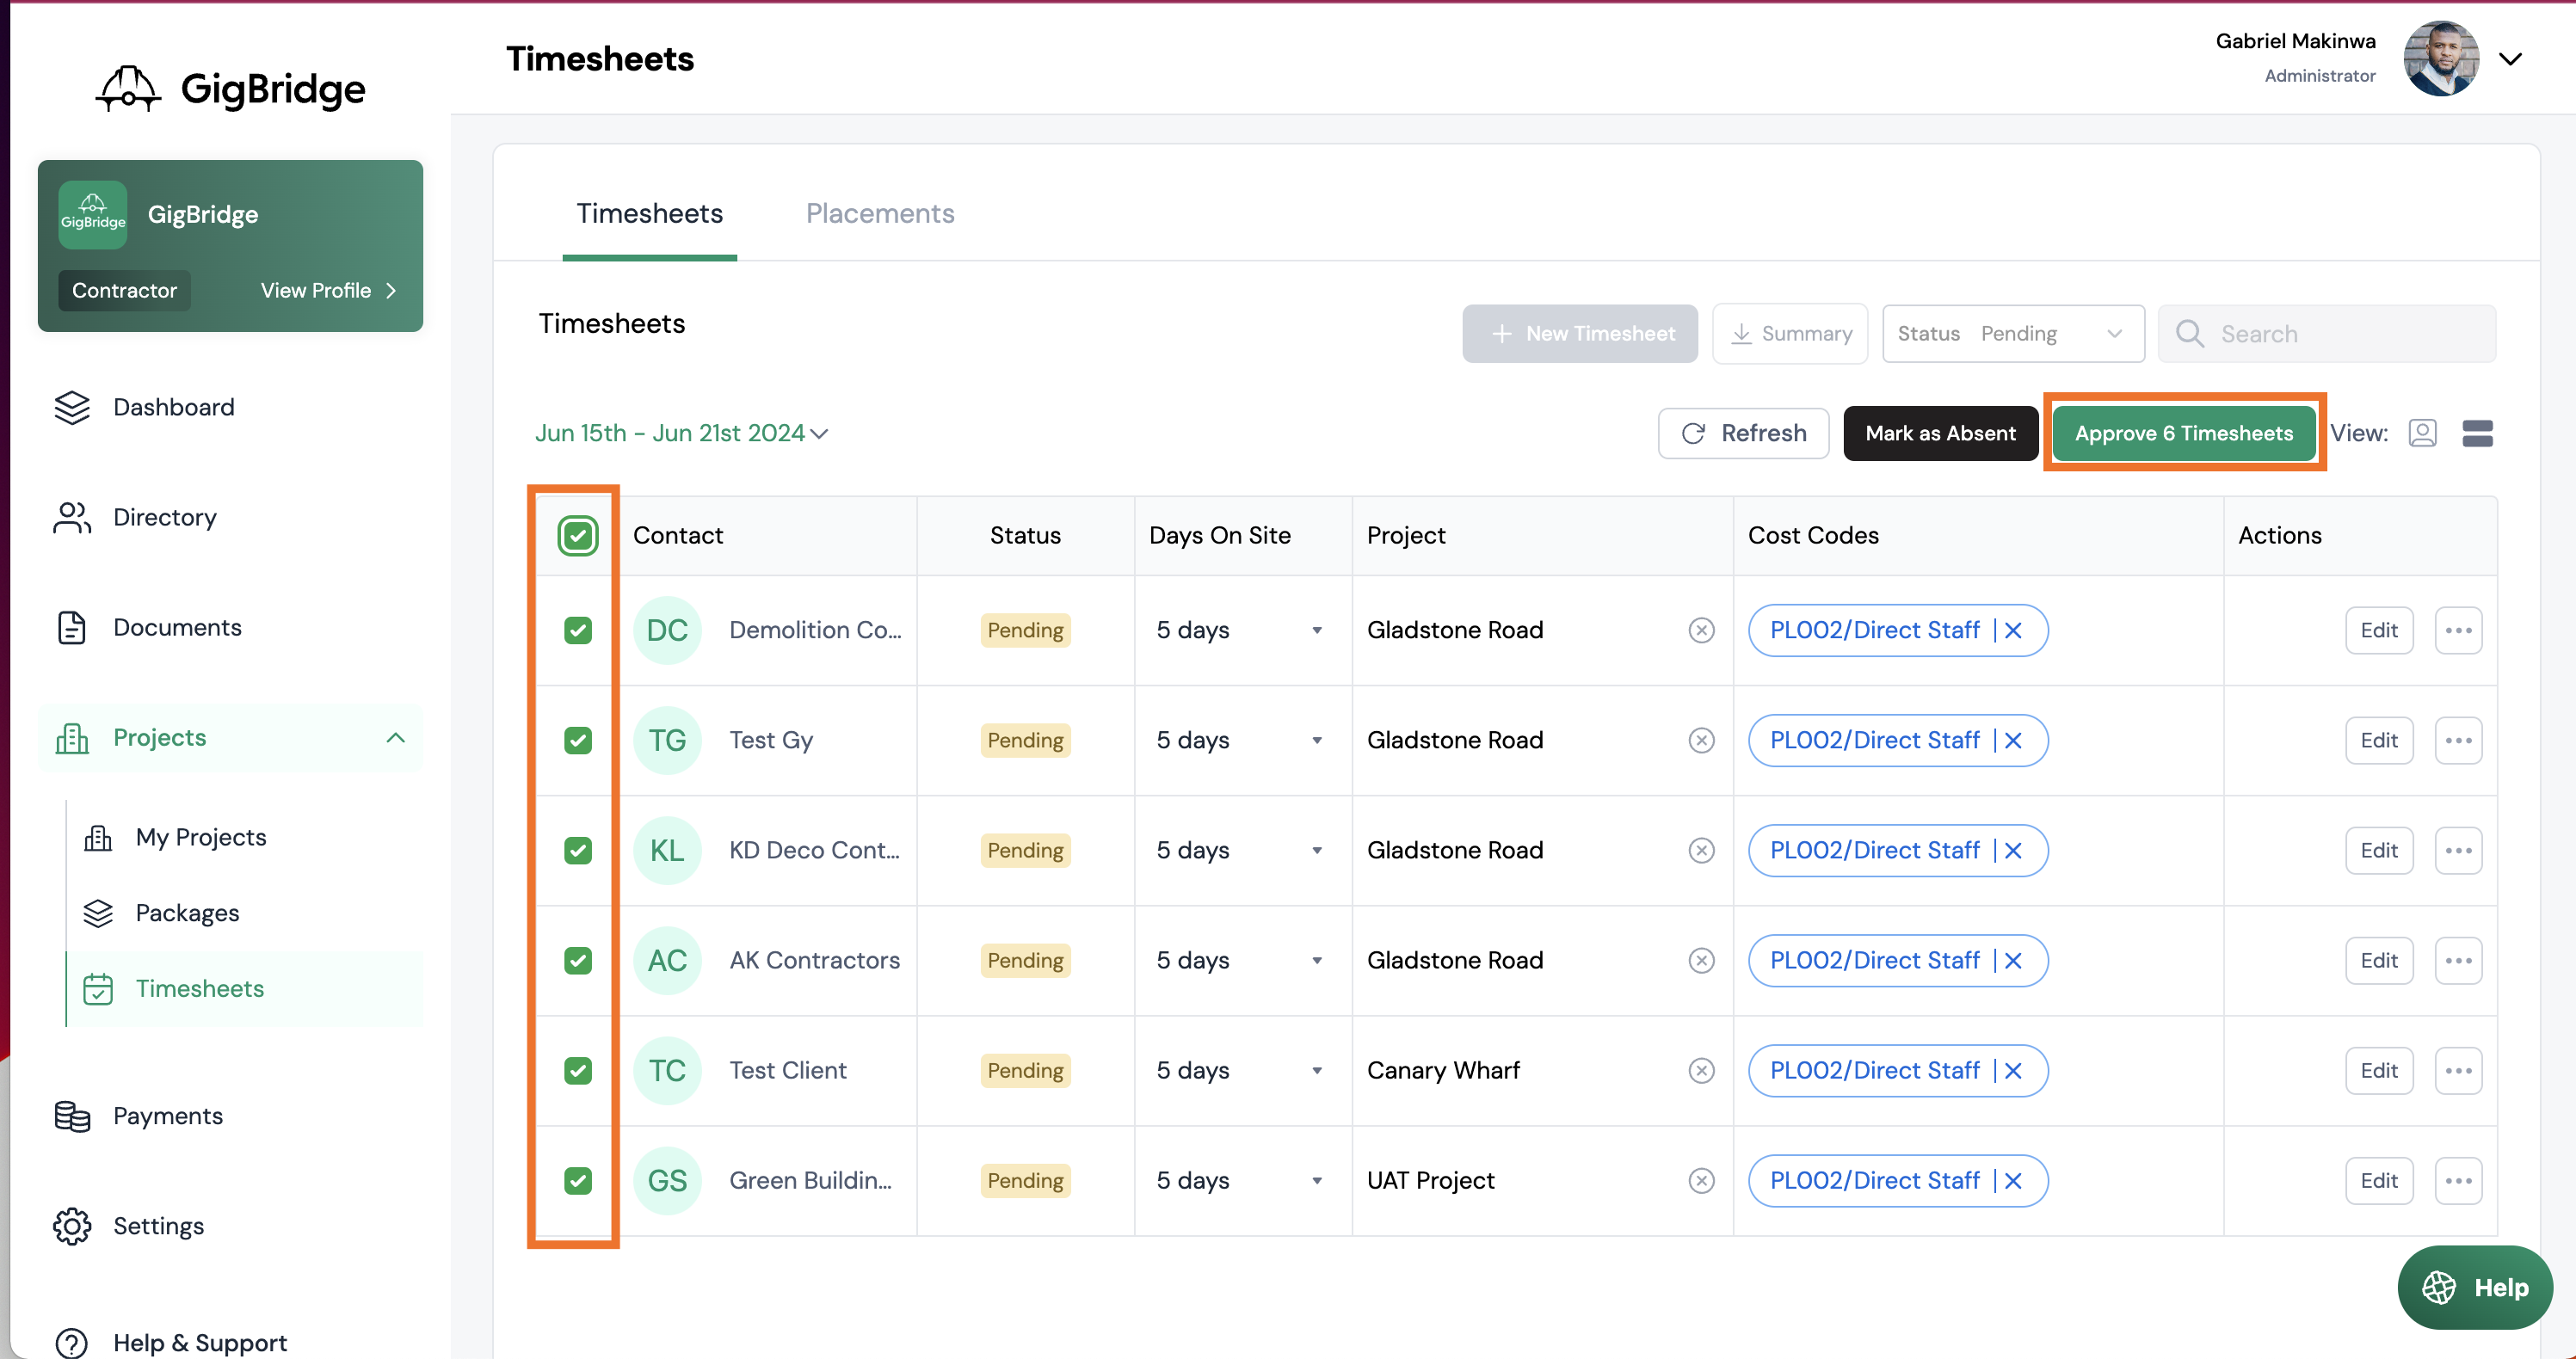
- Click approve and confirm.
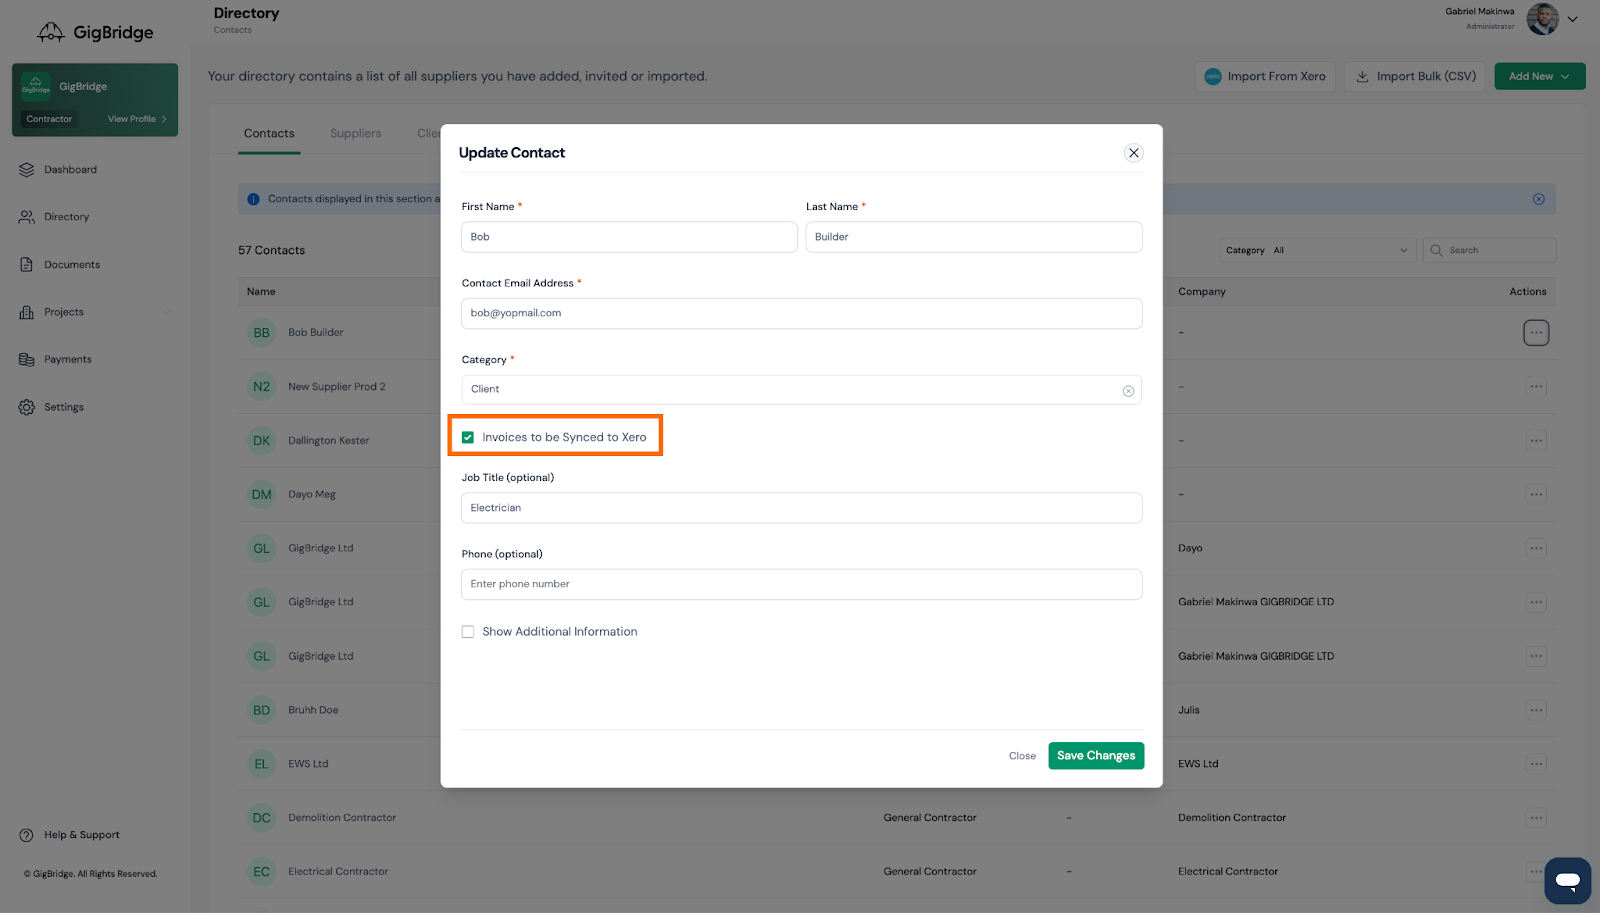
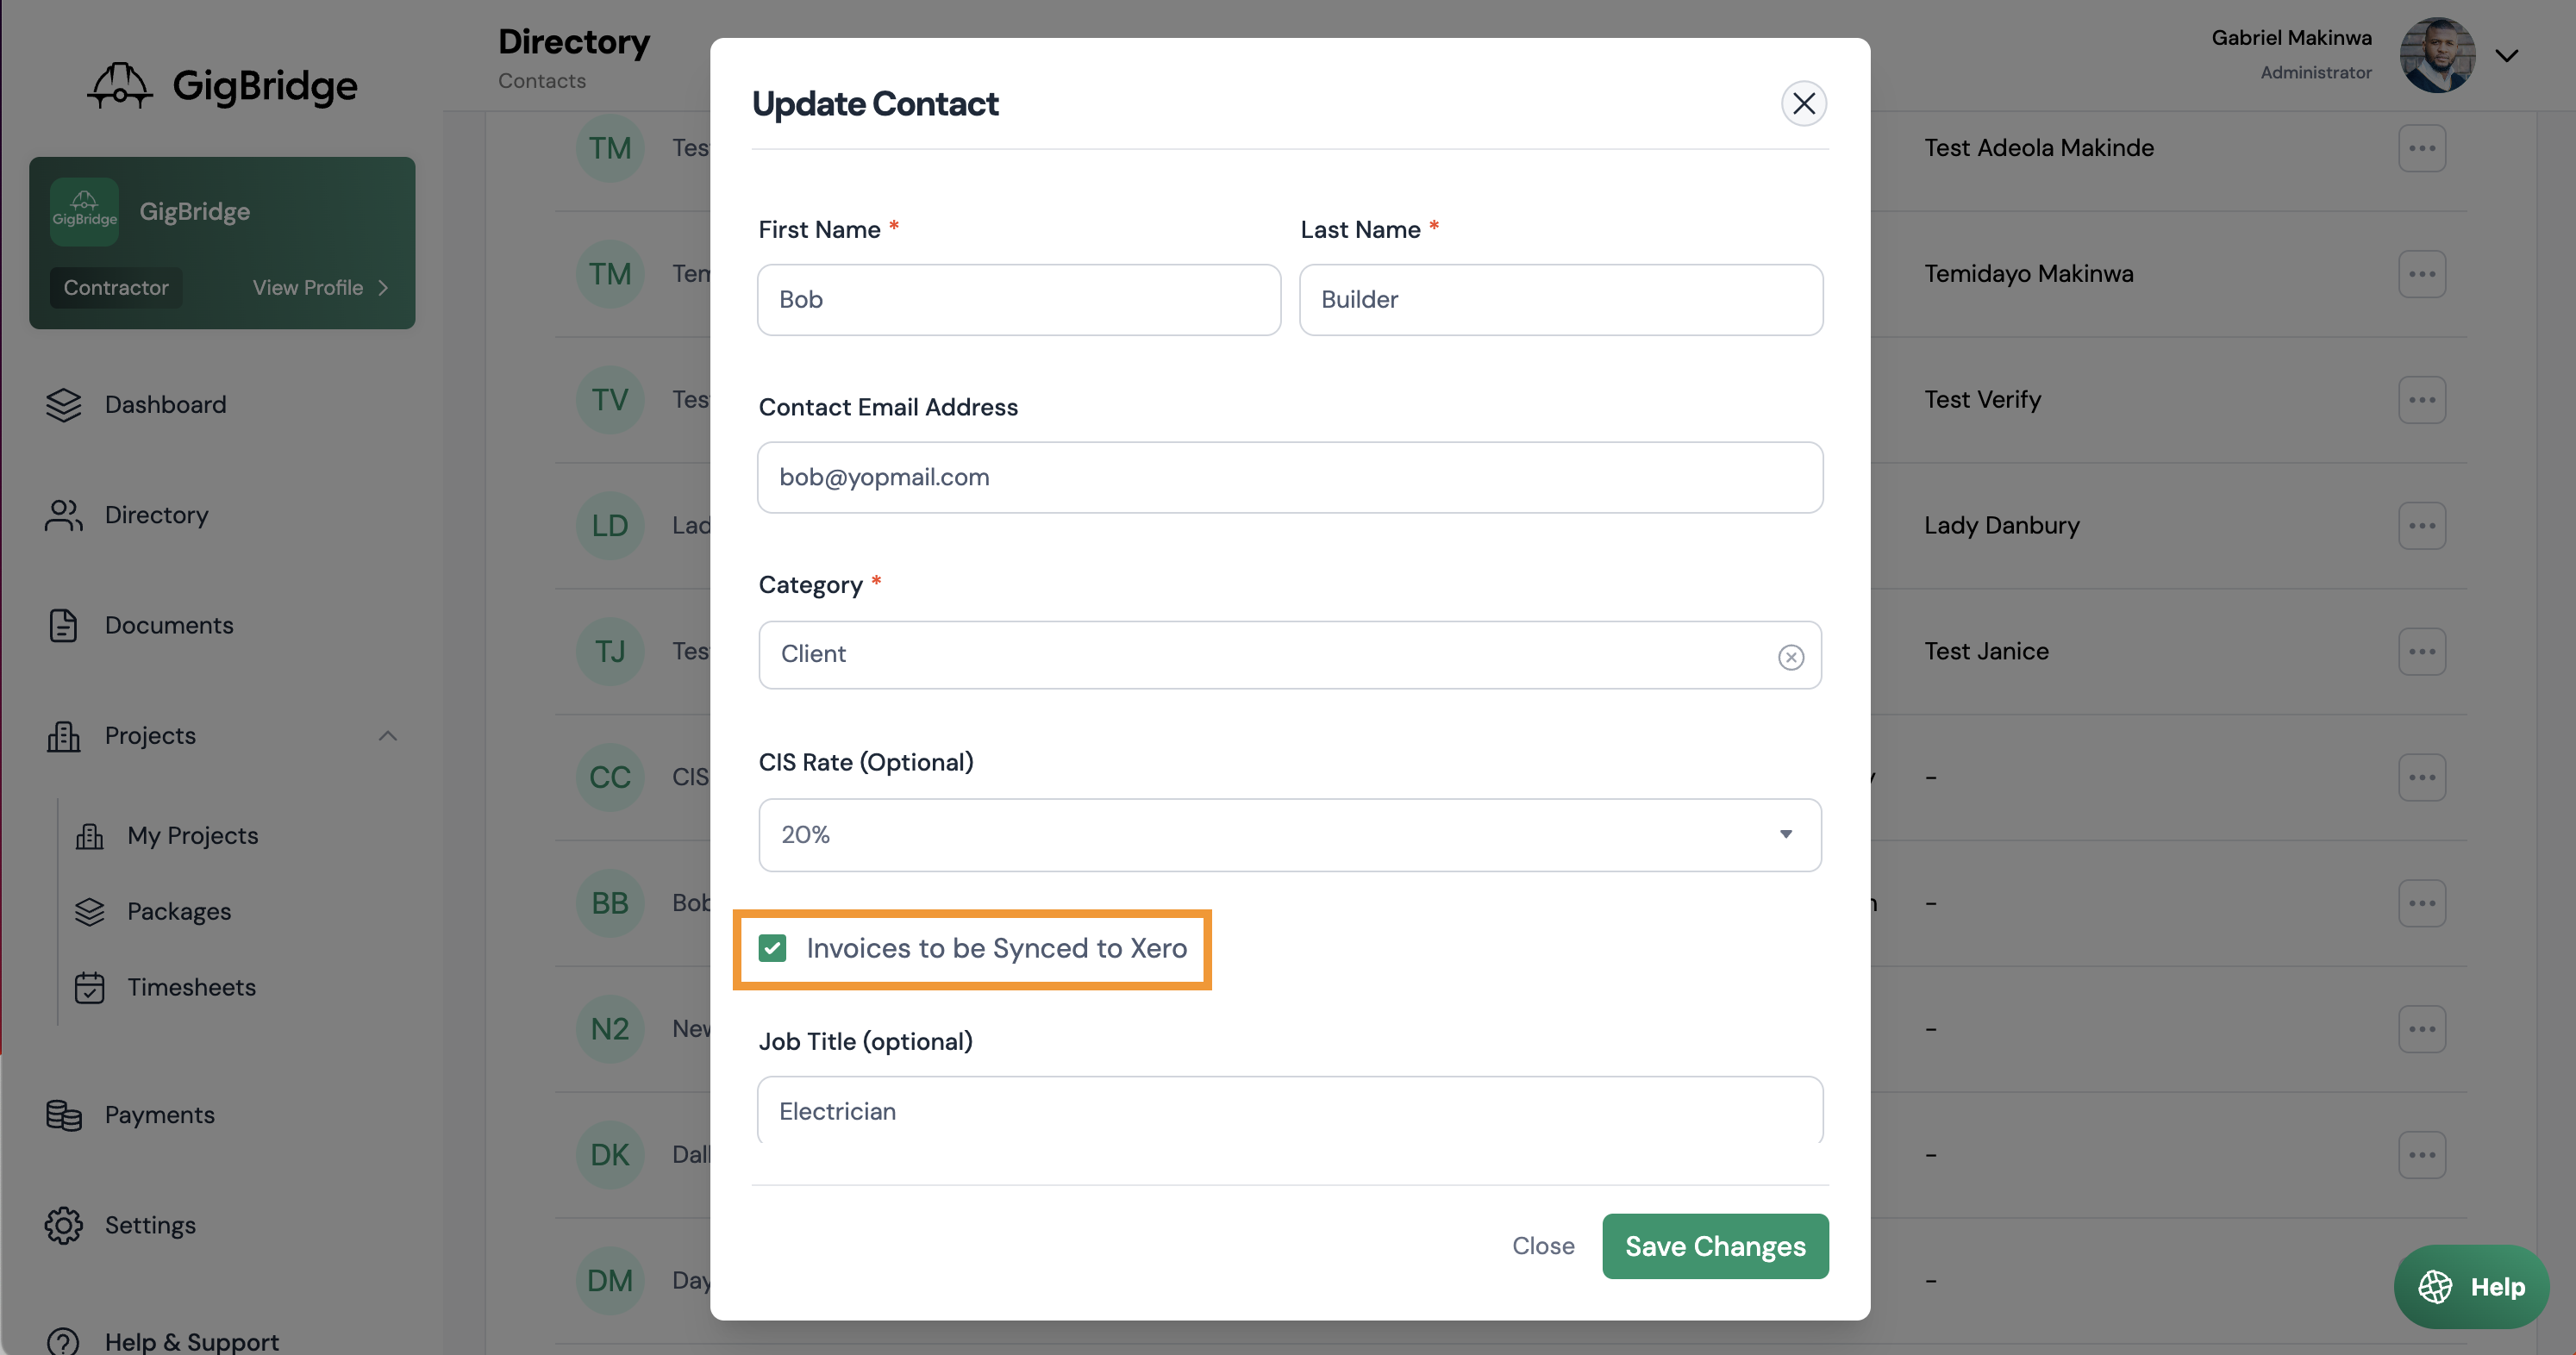
Note: When approving timesheets GigBridge automatically generates cost invoices and allocates them to the cost codes and projects you've selected. You can choose to stop these invoices from being synced to your accounting system by updating the settings for this contact. You can learn more about updating the details for your contacts here.
Approve timesheets one at a time
If you'd like to allocate timesheets to several projects and cost codes then you have to edit them individually.
- To switch to single view and edit them individually click on the single view icon
- You'll be taking to the first pending timesheet for that week
- Select which days the operative has worked that week
- Select which projects they have worked on that week
- On each day you can also select which cost codes they’ve worked on e.g. mechanical, electrical or project management.
Note: In a single timesheet view you can allocate each day to more than once coct code at a time. Simply select a project and then select all the cost codes that person worked on that day. You can select up to 3 cost codes for each day. The costs for each day are automatically split and allocated into the relevant cost codes.

Once you’ve approved the invoice it generates an invoice and splits the cost across all of the projects and cost codes that you’ve selected.
- You can edit the invoice by clicking Edit invoice > Spit invoice.
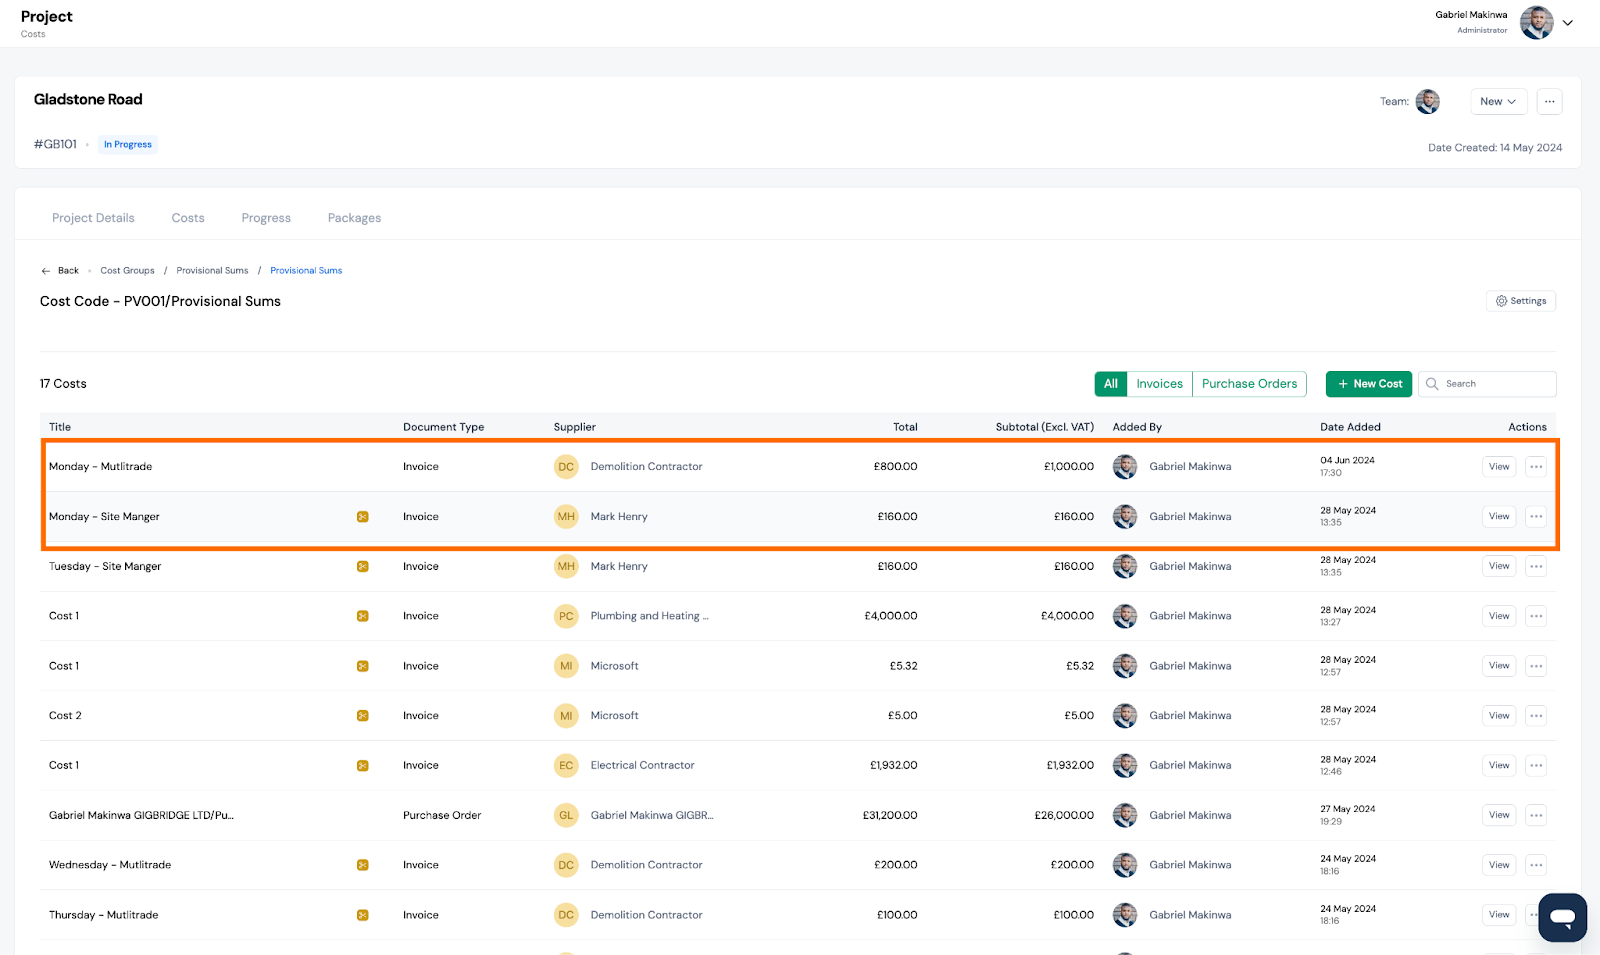
To check where the costs have been allocated. You can click into any of the cost codes that you selected when approving the timesheet. You’ll see a split invoice for each day or part thereof that you had selected.
Note: Invoices generated from timesheets are automatically split into separate costs in your cost report. However, once an invoice is generated and sent into your accounting system. You can configure for certain timesheet invoices not to be sent into your accounting system by updating the sync to Xero option in their contact details.