
How to add cost codes and cost groups
Overview
Cost codes are cost categories that you can use to split up and categorise different type of costs on your project. You might be using to using cost codes in a cost tracker or cost valuation report (CVR). This helps you to see where you are spending money on your projects. You can allocate purchase orders, receipts and invoice to cost codes. When you do this they will be grouped into the cost codes automatically and update your cost reports.
Cost groups are essentially groups of cost codes that you can use for tracking costs at a higher level. A great example of this is tracking different types of subcontractor costs. You may choose to have a subcontractor group with your different types of subcontractors as cost codes. You see the breakdown of cost groups in the cost report overview.
You must allocate all cost codes to a cost group so it's a good idea to create these first.
How to set up cost groups
- Head to the Settings tab in the main menu on the left.
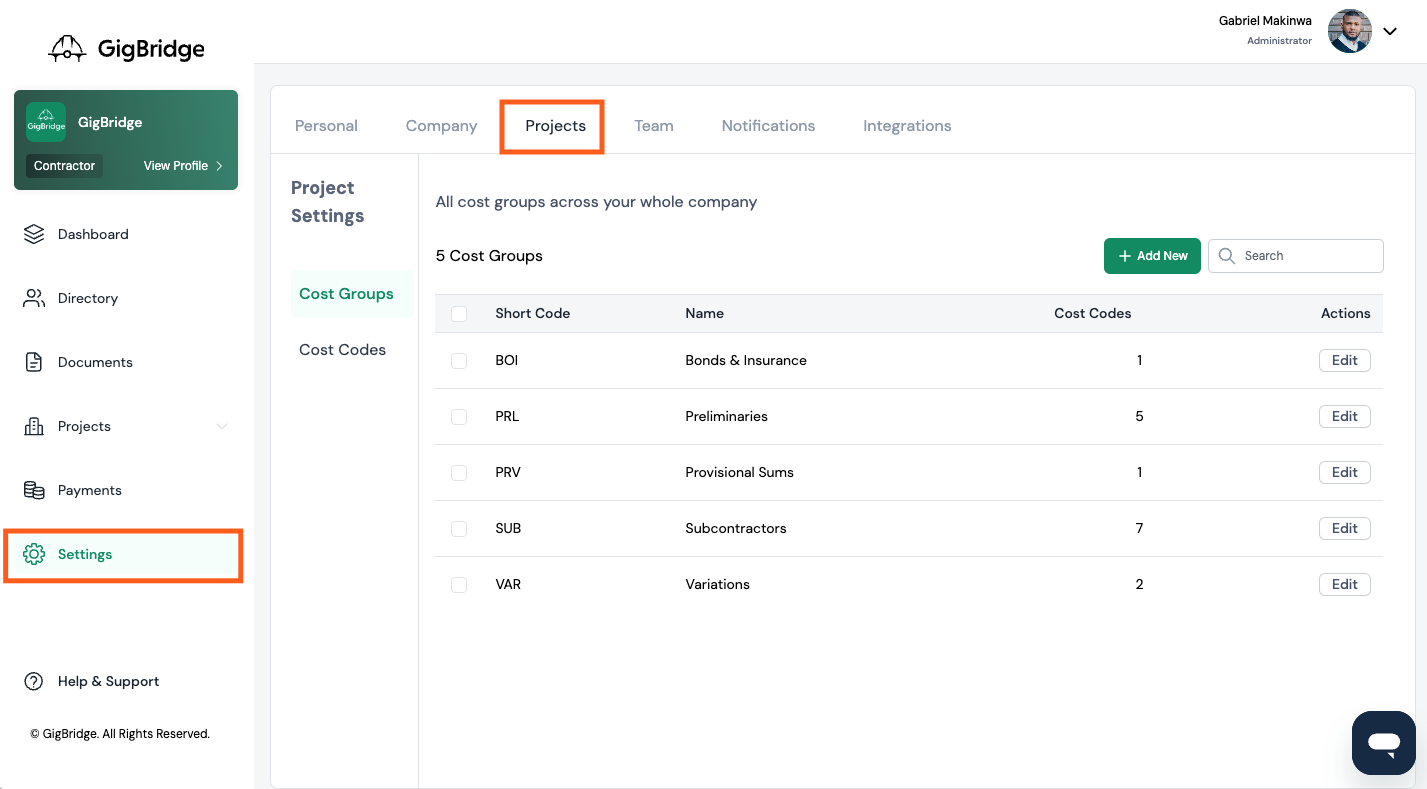
- Click the Projects tab in settings, then click on cost groups.
- Create all of your cost groups before creating any cost codes. You can have as many cost groups as you need.

- When creating a cost group you will need to enter the short code, name and a description. The short code is typically a 3 or 4 character that will act as a prefix on your cost codes e.g. MAT/M001 [Cost Group/Cost Code]
Now let's set up your cost codes.
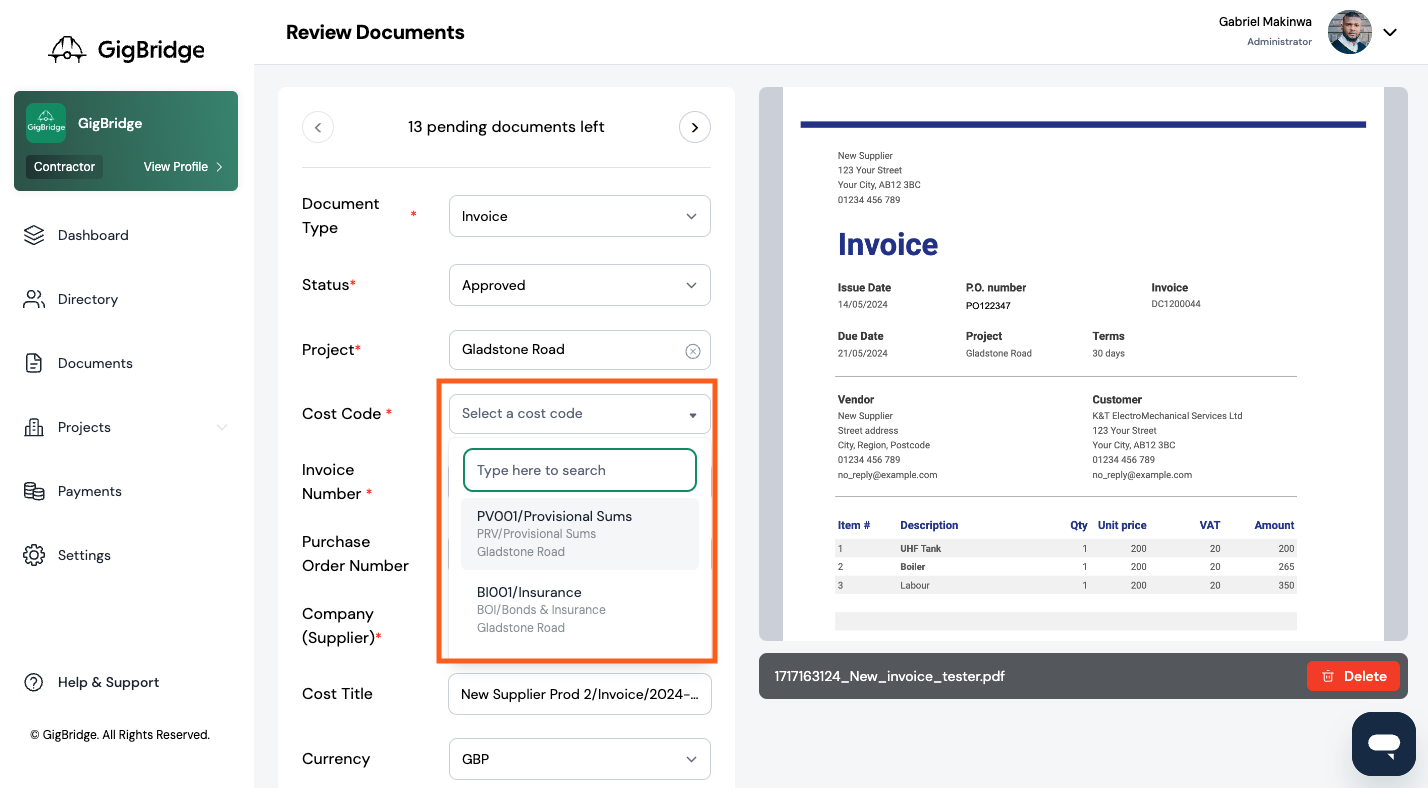
When allocating costs to cost codes you will see the cost groups come up as shown below. You can learn more about reviewing documents here:
How to set up cost codes
Once you’ve set up cost groups you can then set up your cost codes.
- Head to the Settings tab in the main menu on the left.
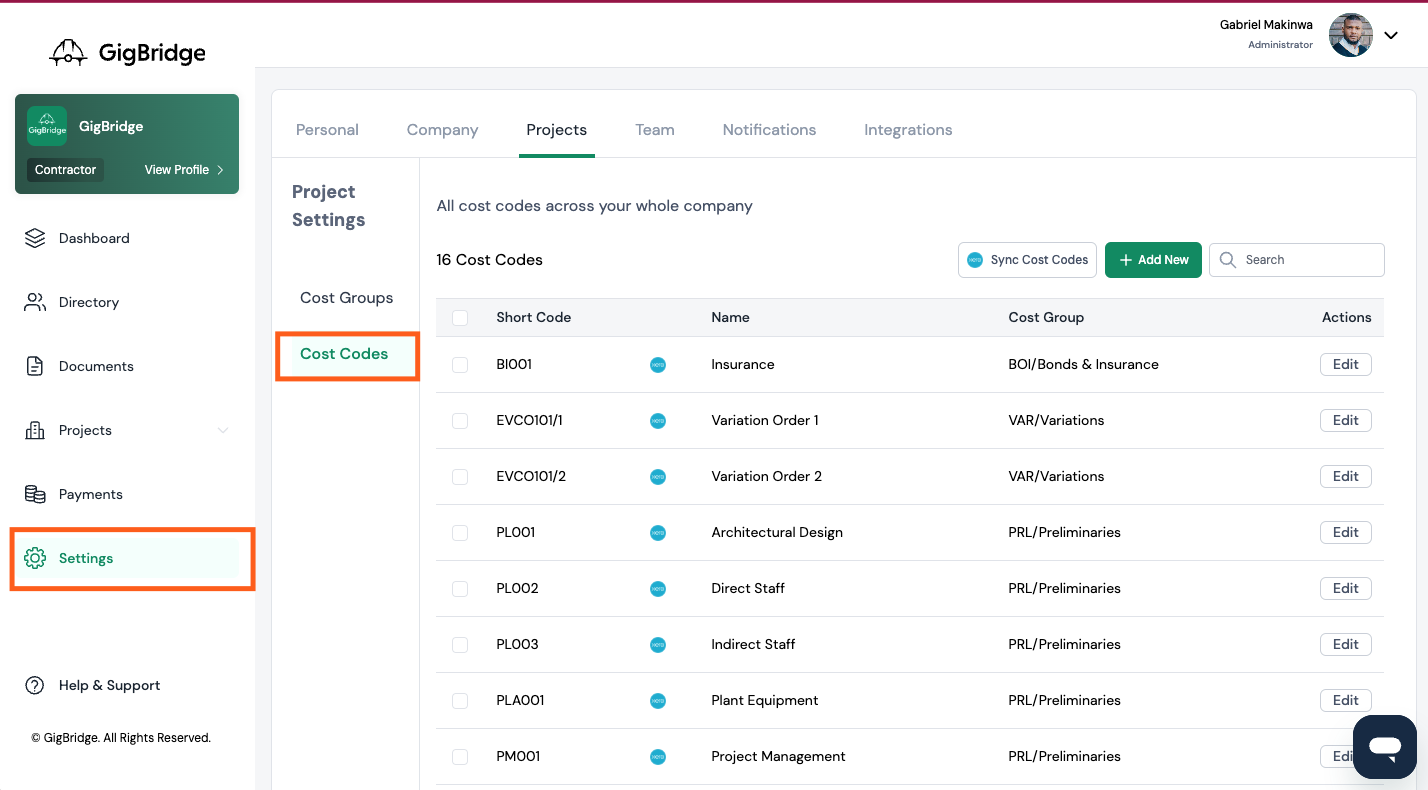
- Click the Projects tab in settings, then click on cost codes.
- Create all of your cost codes here. You can have as many cost codes as you need.
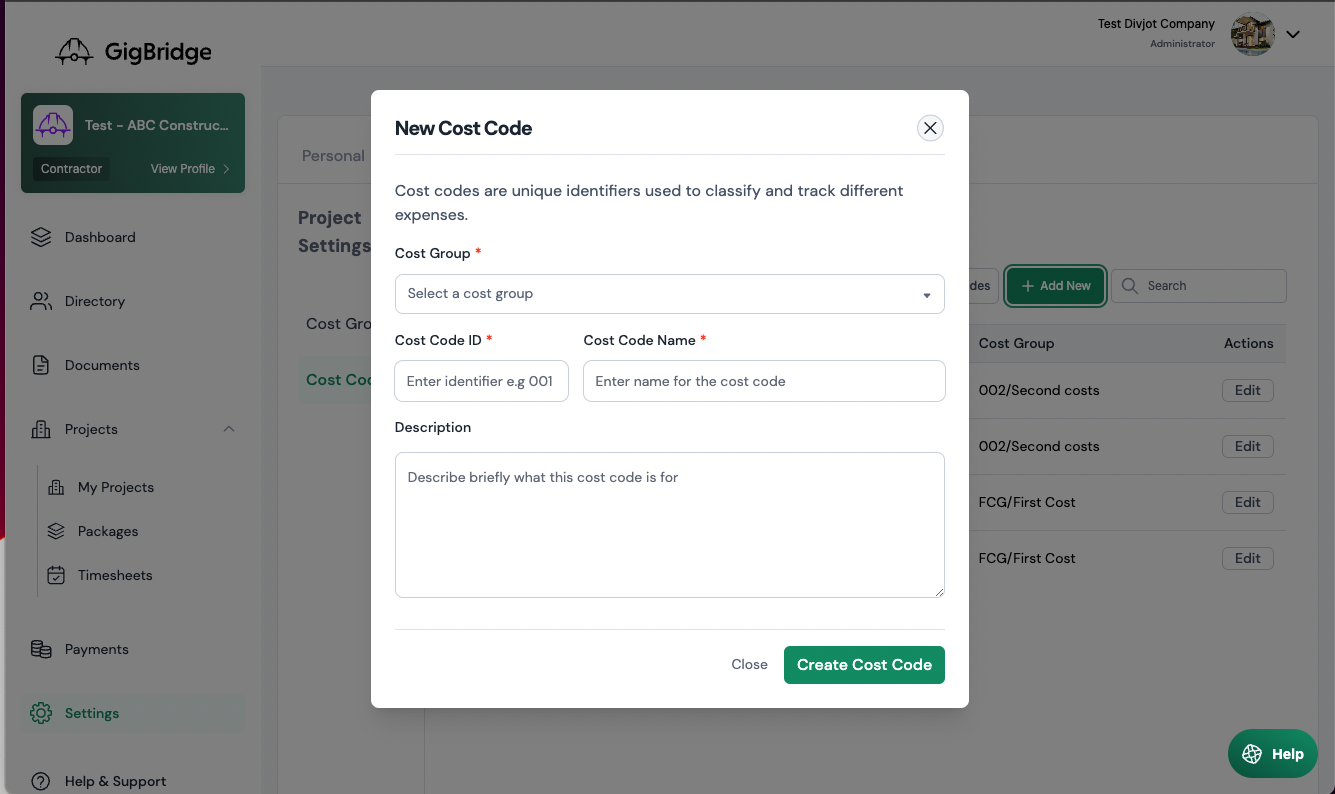
- When creating a cost code you will need to enter.
- Cost Code ID: This is essentially the cost code that you will use to allocate costs in future.
- Cost Code Name: The name of the cost code e.g. first fix, Indirect labour etc.
- Cost Group: This is the group that this cost coe should belong to.
- Description: This is a description of the cost codes that will help other team members understand what it’s for.
- Once you’ve set up all of your cost codes they’ll be for you to use when assigning purchase orders and invoices to your projects. You'll also see them in your project cost reports where you can set your contract value and budget for each and track your actual cost for each cost code in real-time.
If after setting up all of your cost codes and cost groups you need to come back and add more you can do that by heading back to settings > Projects and select cost groups or cost codes.
Once you’ve added a cost code or cost group it will be available in all new and existing projects.