
How to create a project
A project in GigBridge brings all of your project information, files & reports into one place. It's really easy to create a project in GigBridge. These are a few simple steps on how to do it.
- Go to the Projects Tab: On the left-hand side of your dashboard, locate and click on the "Projects" tab.
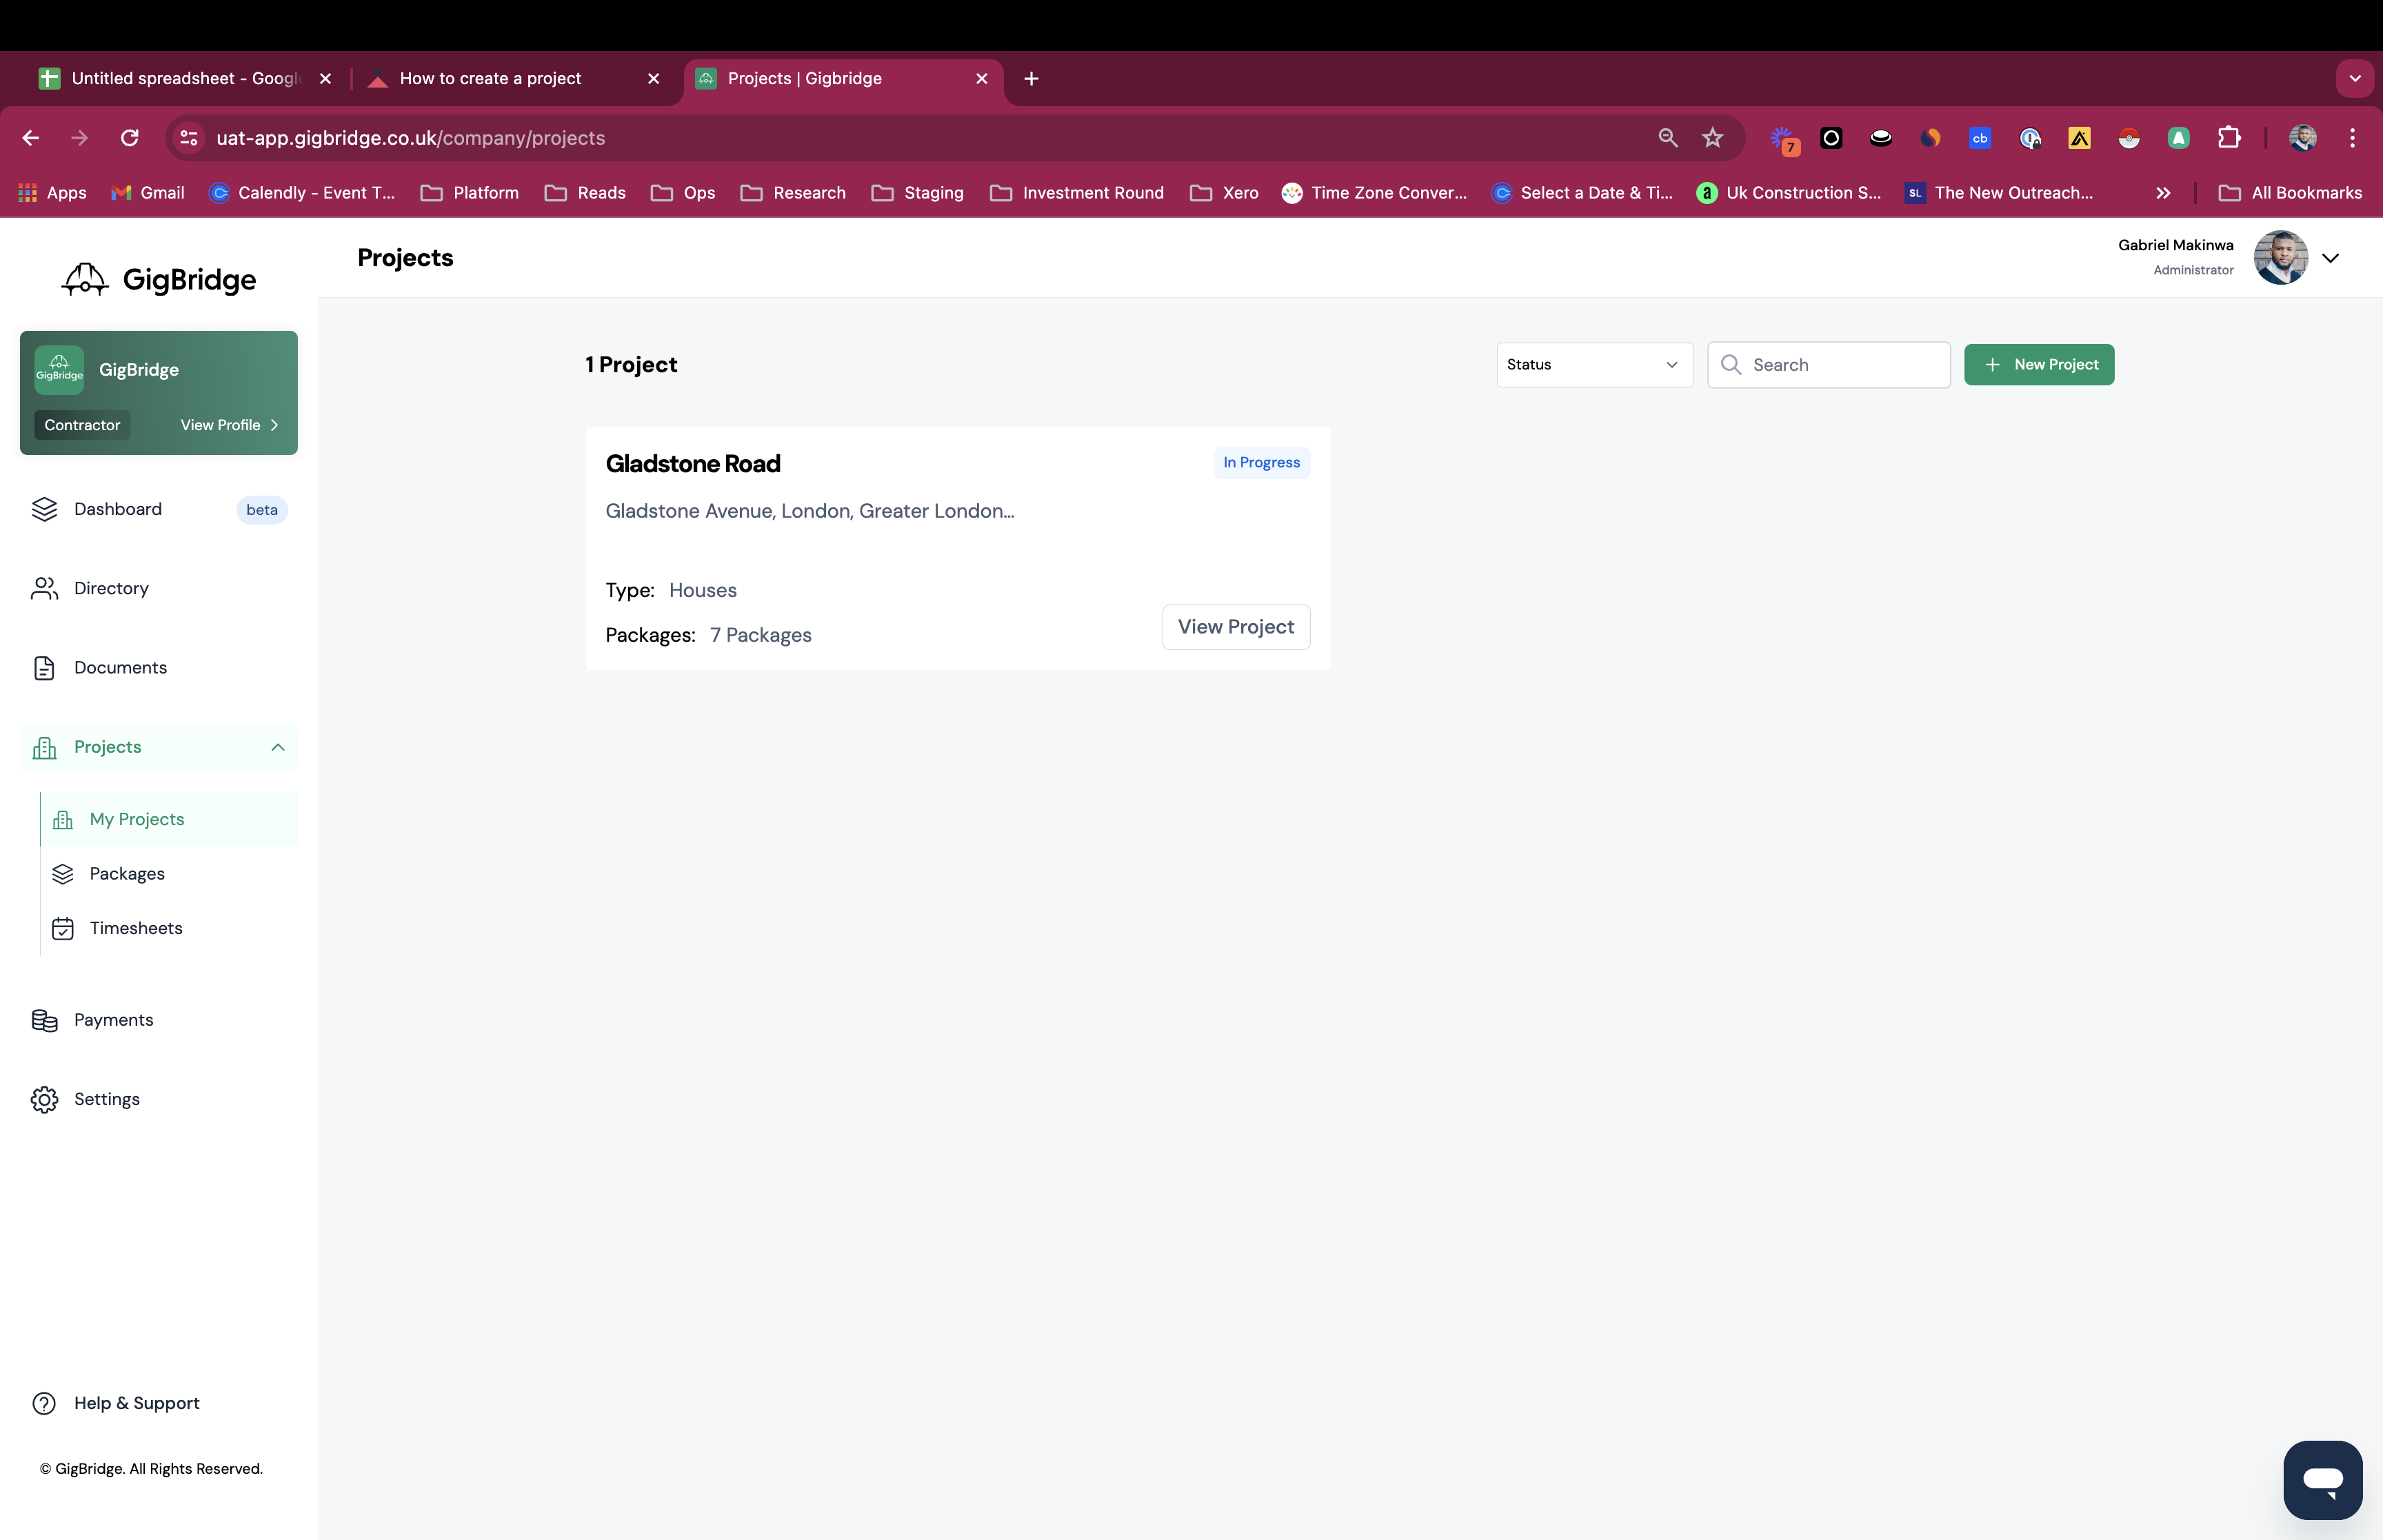
- Select New Project: Within the Projects tab, select "My Projects" to manage and create your projects.
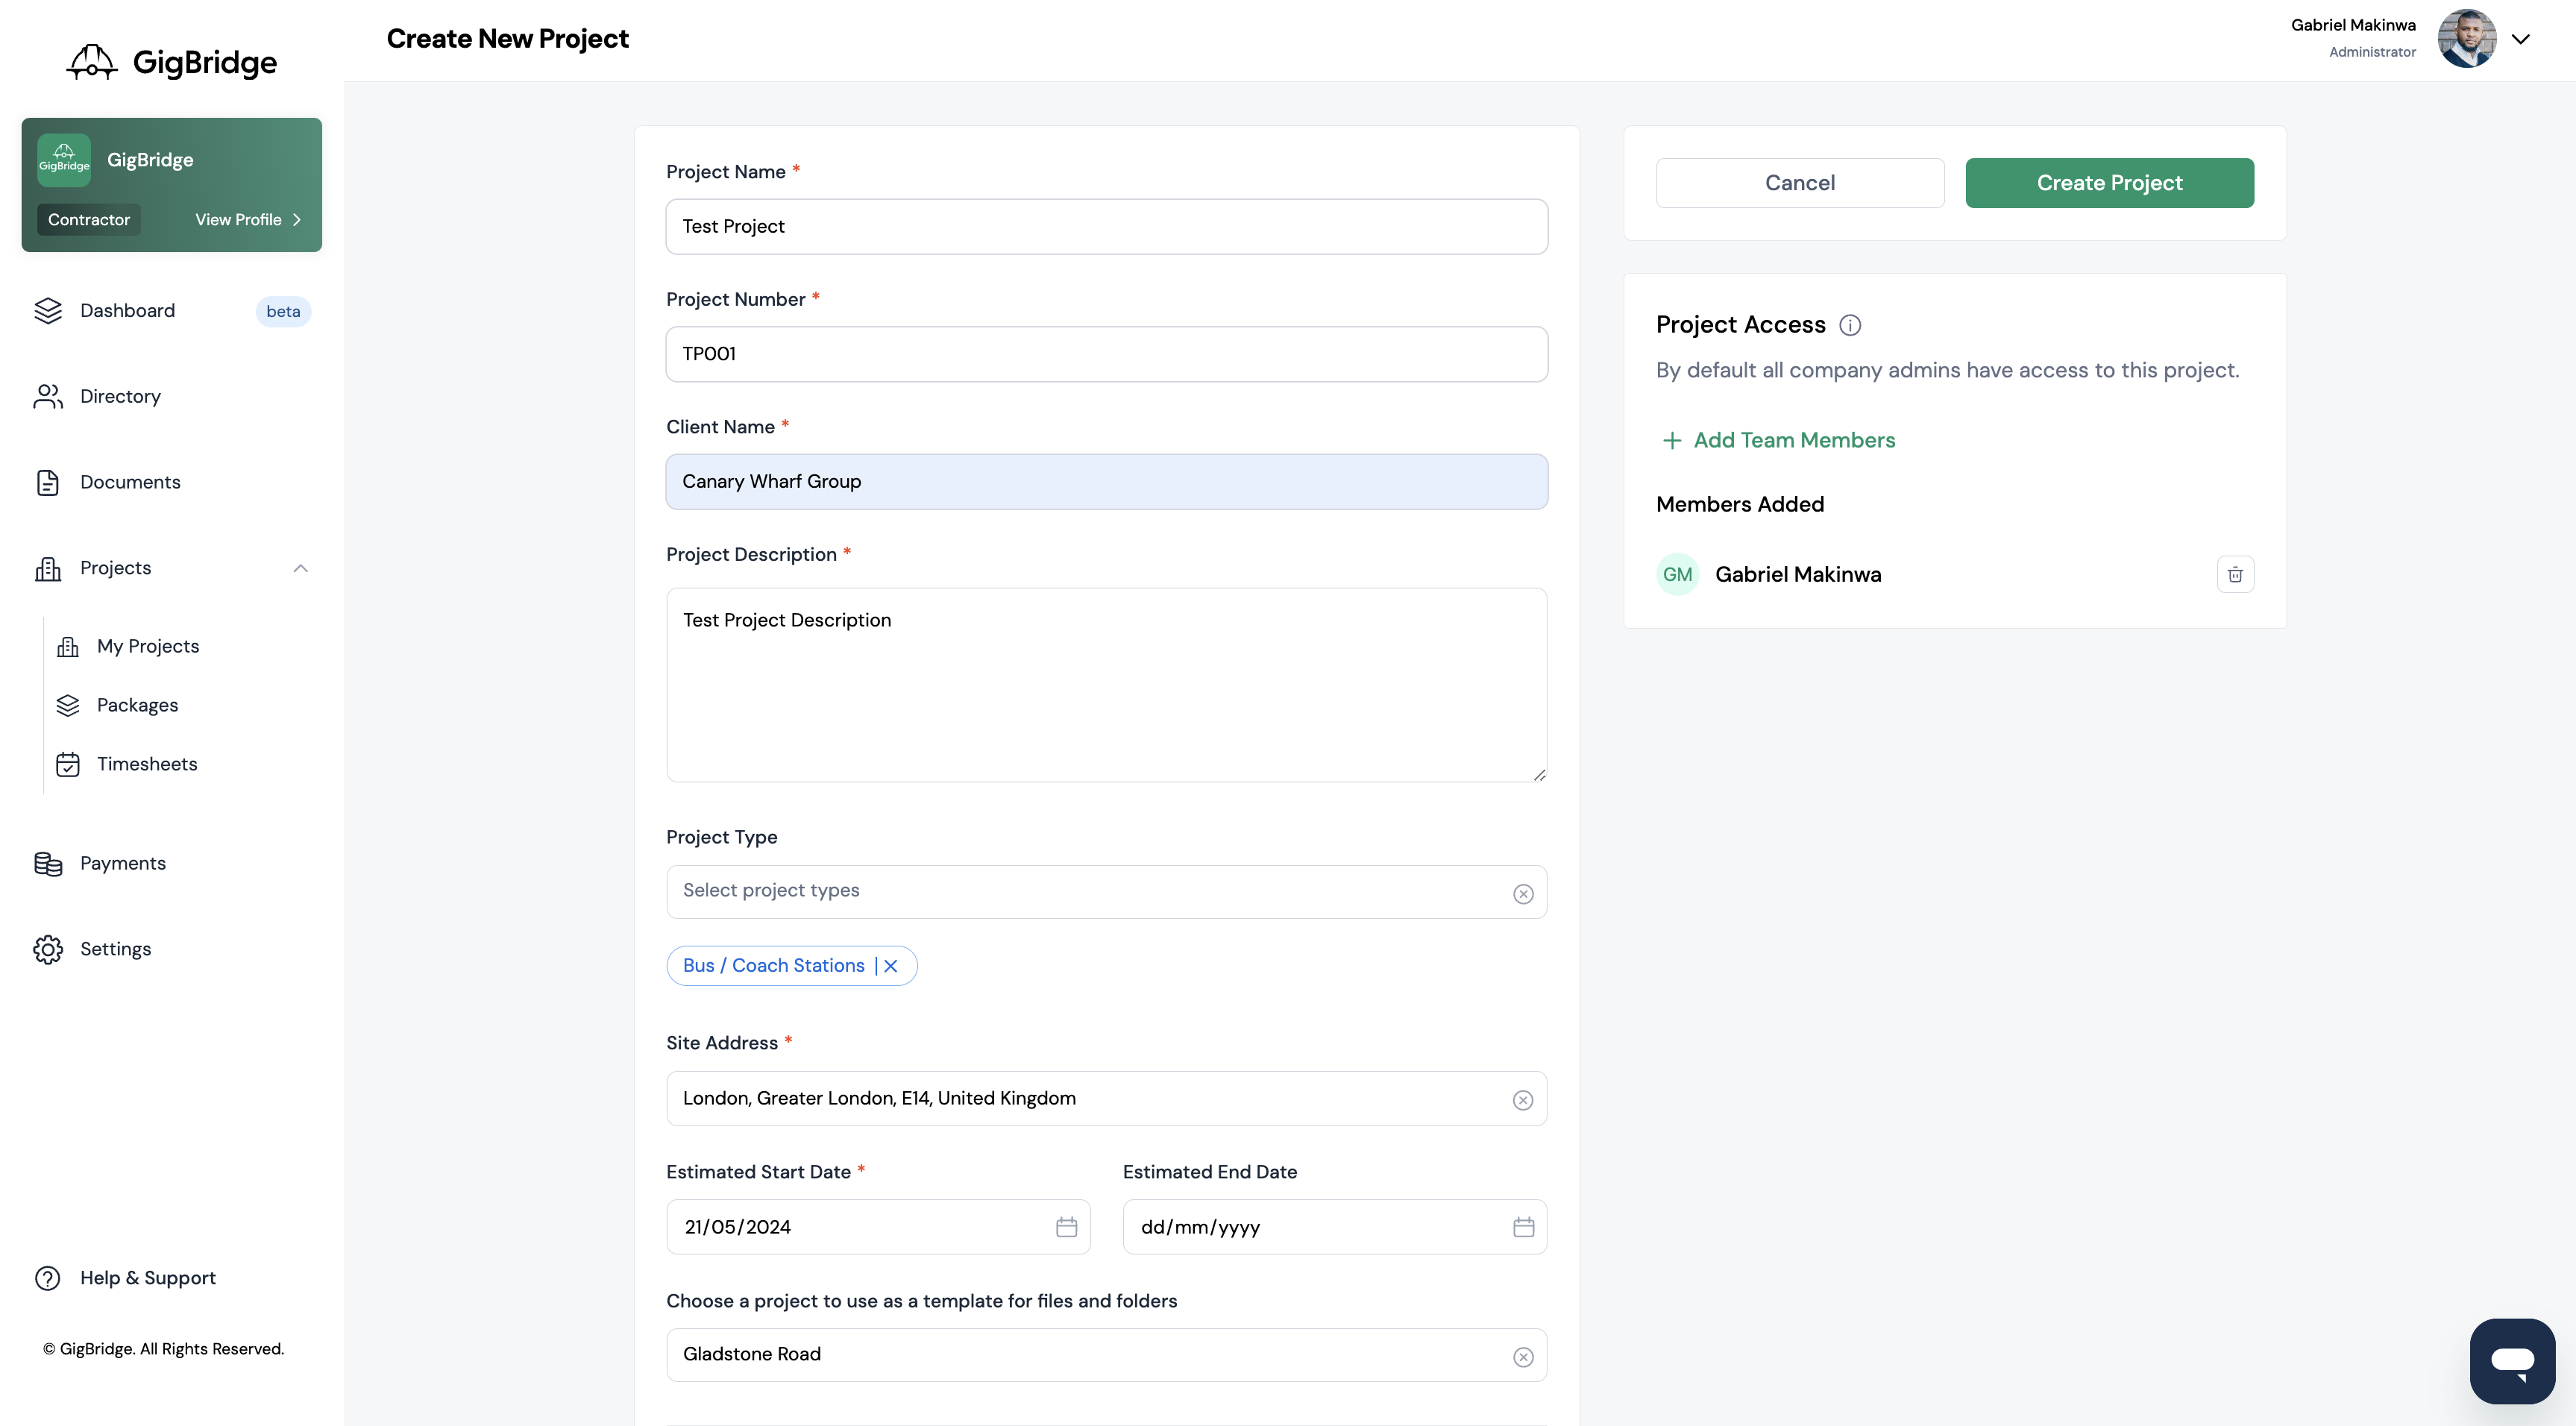
Enter Project Details: Fill in the required project details. This includes:
- Project Name: Use a name that the whole company will be able to point out. This is typically the project address or building name
- Project ID: This is a unique code for this project.
- Client Name: Select from one of the clients in your directory.
- Description: A description of the project that will get everyone on the same page.
- Project Type: Select the type of building or end use that you’re working on e.g. school, house, hotel etc.
- Site Address: Enter and search the site address. If you can’t find a new address please select a nearby landmark.
- Start Date and End Date: Enter the start date for the project.
- Choose a project to use as a template for files and folders: Use this option to select a previous project as a template. This will copy the folder structure, packages and progress BOQ.
Save and Proceed: After entering the details, click "Save" to confirm your project setup. Proceed to the next step.
Upload Documents: Upload any necessary project documents, such as blueprints, building permits, or other relevant files. This step ensures that all project stakeholders have access to crucial information.
After you've set up your project; proceed to upload your project schedule of works. This is typically a breakdown of items that you have agreed with your client to deliver. You can learn more about setting that up here.